
Maintaining a consistent posting schedule is crucial for social media success. It helps build audience trust, enhances brand visibility, and ensures steady growth. This guide outlines key steps and strategies to establish a reliable and effective posting schedule.
Why Scheduling Social Media Posts is Essential
Benefits of Consistent Posting
1. Builds Trust and Credibility:
When you post consistently, your audience knows they can rely on you for regular updates. This builds trust and positions your brand as a dependable source of information or entertainment. For example, a fitness influencer who posts workout tips every Monday creates anticipation and loyalty among followers.
2. Boosts Engagement:
Consistent posting keeps your audience engaged. The more often you post, the more opportunities you have to interact with your followers. For example, a brand that posts daily on Instagram Stories keeps its audience coming back for more, increasing overall engagement.
3. Improves Algorithm Performance:
Social media algorithms favor accounts that post consistently. Regular activity signals to the platform that your account is active and valuable, which can lead to increased reach and visibility. For example, a small business that posts 3 times a week on Facebook sees a steady increase in organic reach compared to sporadic posting.
How Scheduling Saves Time and Improves Engagement
Efficiency: Scheduling allows you to plan and create content in batches. Instead of scrambling to post every day, you can dedicate a few hours to creating a week’s or month’s worth of content. A content creator spends 2 hours every Sunday scheduling posts for the week, freeing up time for other tasks.
Optimal Timing: Scheduling tools like Planly allow you to post at the best times for your audience, even if you’re not online. This ensures your content reaches the maximum number of people. A global brand schedules posts to go live at peak times in different time zones, ensuring consistent engagement worldwide.
Reduces Stress: Knowing your posts are scheduled in advance eliminates the stress of last-minute content creation. You can focus on other aspects of your business or personal life. A small business owner uses a scheduling tool to plan posts for the holiday season, reducing stress during a busy time.
Step 1: Define Your Social Media Goals
Before you start scheduling posts, you need clear goals to guide your strategy. Without goals, your efforts will lack direction and purpose.
Understanding Audience and Platform-Specific Objectives:
1. Know Your Audience:

Identify who your audience is and what they want. Different platforms attract different demographics, so tailor your content accordingly. If your audience is primarily young adults, focus on Instagram and TikTok. If they’re professionals, prioritize LinkedIn.
2. Set Platform-Specific Goals:
Different social media platforms attract different audiences, and each platform has its own peak activity times. Tailoring your posting schedule to align with these factors ensures your content reaches the right people at the right time.
Facebook:
- Audience: Broad demographic, but most active users are aged 25-54.
- Peak Times: Start posting 3-5 times per week. Weekdays from 10 AM to 3 PM, with Wednesdays being the most active day.
- Content Preferences: Longer posts, videos, and community-focused content (e.g., groups, events).
Instagram:
- Audience: Primarily younger users (18-34), with a growing number of older users.
- Peak Times: Start posting 1-2 times per day. Weekdays from 10 AM to 1 PM, with Wednesdays and Fridays being the most active days.
- Content Preferences: Visually appealing content (photos, reels, stories), influencer collaborations, and behind-the-scenes content.
Twitter (X):
- Audience: Younger, tech-savvy users, journalists, and professionals.
- Peak Times: Start posting 3-5 times per day. Weekdays from 8 AM to 4 PM, with Wednesdays and Fridays being the most active days.
- Content Preferences: Short, timely updates, trending topics, and engaging threads.
LinkedIn:
- Audience: Professionals, B2B audiences, and job seekers.
- Peak Times: Start posting 2-3 times per week. Weekdays from 8 AM to 2 PM, with Tuesdays and Wednesdays being the most active days.
- Content Preferences: Industry news, thought leadership articles, and career-related content.
TikTok:
- Audience: Primarily Gen Z and younger millennials.
- Peak Times: Start posting 1-3 times per day. Evenings and weekends, with Tuesdays and Thursdays being the most active days.
- Content Preferences: Short, entertaining videos, challenges, and trending audio.
YouTube:
- Audience: Broad demographic, but most active users are aged 18-34.
- Peak Times: Start posting 1-2 times per week. Weekdays from 2 PM to 4 PM and weekends.
- Content Preferences: Long-form videos, tutorials, reviews, and vlogs.
3. Feedback and Analytics:
Data-driven decision-making is key to understanding what content resonates with your audience and when they are most likely to engage with it.
Tools for Gathering Feedback and Analytics:
Google Analytics: Use Google Analytics to track website traffic, user behavior, and content performance.
Key metrics to monitor:
- Pageviews: Which pages are most popular?
- Bounce Rate: Are visitors leaving quickly?
- Time on Page: How long are they engaging with your content?
- Traffic Sources: Where are your visitors coming from (e.g., social media, search engines)?
Social Media Insights: Each platform offers built-in analytics tools:
- Facebook Insights: Track post reach, engagement, and follower demographics.
- Instagram Insights: Monitor impressions, saves, and profile visits.
- Twitter Analytics: Analyze tweet impressions, engagement rate, and follower growth.
- LinkedIn Analytics: Measure post views, clicks, and follower demographics.
Use these insights to identify which posts perform best and adjust your strategy accordingly.
Email Analytics: If you use email marketing, track metrics like open rates, click-through rates, and unsubscribe rates. You can use tools like Mailchimp, Constant Contact, or HubSpot to provide detailed analytics. For example, if emails sent at 10 AM on Tuesdays have the highest open rates, schedule your emails accordingly.
Third-Party Tools: Tools like Planly, Hootsuite, Sprout Social, or Buffer provide cross-platform analytics and scheduling capabilities. Use these tools to compare performance across platforms and identify trends.
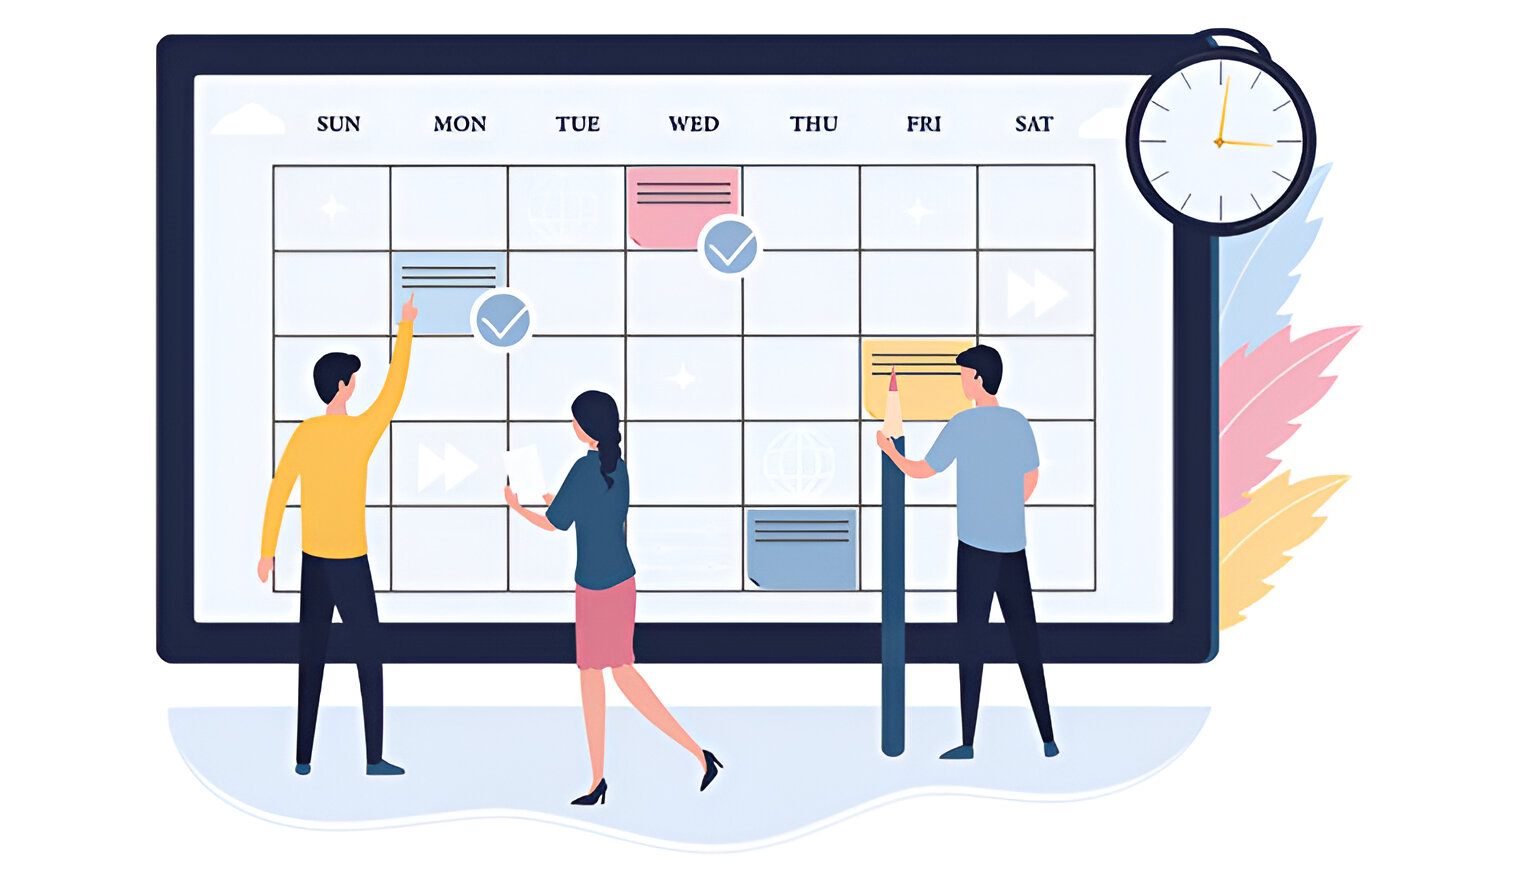
Step 2: Create a Content Calendar

A c is your roadmap for consistent posting. It helps you plan, organize, and execute your social media strategy effectively.
Why a Content Calendar is Vital for Consistency:
1. Organization: A content calendar helps you keep track of what to post, when to post it, and on which platforms. It ensures you don’t miss important dates, campaigns, or opportunities to engage with your audience. For example, a fashion brand uses a content calendar to plan posts around seasonal collections (e.g., spring/summer, fall/winter) and holidays (e.g., Valentine’s Day, Black Friday). This ensures they stay ahead of trends and capitalize on key shopping periods.
2. Planning: A calendar allows you to align your content with campaigns, holidays, events, and product launches. It ensures your content is timely, relevant, and purposeful. For example, a food blogger plans posts around major holidays like Thanksgiving and Christmas, sharing recipes, cooking tips, and meal prep guides. This keeps their content fresh and aligned with what their audience is searching for.
3. Accountability: A content calendar holds you accountable for posting consistently. It serves as a visual reminder of your posting schedule, helping you stay on track even during busy periods. For example, a small business owner uses a calendar to ensure they post 3 times a week, even during peak seasons like holidays or sales events. This consistency helps maintain audience engagement and brand visibility.
4. Efficiency: By planning ahead, you save time and reduce last-minute stress. You can batch-create content, schedule posts in advance, and focus on other aspects of your business. For example, a social media manager plans and schedules a month’s worth of content in one sitting, freeing up time to engage with followers and analyze performance.
5. Strategic Alignment: A content calendar ensures your posts align with your broader marketing goals, such as increasing brand awareness, driving traffic, or boosting sales. For example, an e-commerce brand plans content around product launches, sales events, and customer testimonials to drive conversions.
How to Create a Content Calendar
1. Choose Your Tools
Select a tool or platform that works best for you. Options include:
- Spreadsheets (Google Sheets, Excel): Simple and customizable.
- Project Management Tools (Trello, Asana): Great for collaboration.
- Social Media Scheduling Tools (Planly, Hootsuite, Buffer, Later): Allows you to plan and schedule posts directly.
- Content Calendar Templates: Many free templates are available online for platforms like Google Sheets or Notion.
2. Define Your Posting Frequency
Decide how often you’ll post on each platform. This depends on your audience, resources, and goals. For example, posting 3 times a week on Instagram, daily on Twitter, and once a week on LinkedIn.
3. Map Out Key Dates and Themes
Identify important dates, holidays, events, and campaigns relevant to your audience. For example, a fitness brand might plan content around New Year’s resolutions, summer fitness challenges, and back-to-school wellness tips.
4. Create Content Categories
Organize your content into categories to ensure variety and balance. Examples include:
- Educational posts
- Promotional posts
- User-generated content
- Behind-the-scenes content
- Inspirational quotes or stories
5. Plan Content in Advance
Fill in your calendar with specific post ideas, captions, hashtags, and visuals. Aim to plan at least a month in advance.
6. Schedule and Automate
Use scheduling tools to automate your posts. This ensures consistency and frees up time for engagement and analysis.
7. Review and Adjust
Regularly review your calendar to ensure it aligns with your goals and performance metrics. Be flexible and adjust as needed. If a particular type of content isn’t performing well, replace it with something more engaging.
Tips to Organize Content Ideas Effectively:

Organizing content ideas effectively is crucial for maintaining a consistent, engaging, and professional presence on social media or any content platform. By implementing strategies like assigning themes, mixing content types, and batch creation, you can streamline your workflow, save time, and ensure your audience remains interested. Below is a detailed breakdown of these strategies:
1. Assign Themes to Specific Days
Creating themed content for specific days of the week is a powerful way to establish a consistent posting pattern. This approach not only helps you stay organized but also gives your audience something to look forward to regularly.
Why It Works:
- Consistency: Your audience knows what to expect on specific days, which builds anticipation and loyalty.
- Ease of Planning: Themes provide a clear framework for brainstorming content ideas.
- Brand Identity: Recurring themes reinforce your brand’s voice and messaging.
Example:
A fitness coach might use:
- #WorkoutWednesday: Share a new exercise routine or fitness tip.
- #TransformationTuesday: Post before-and-after photos of clients.
- #SelfCareSunday: Focus on mental health and recovery tips.
2. Mix Different Types of Content
Using a variety of content formats keeps your feed dynamic and caters to different audience preferences. Not everyone engages with the same type of content, so mixing it up ensures broader reach and higher engagement.
Why It Works:
- Engagement: Different formats appeal to different segments of your audience. For example, some may prefer quick videos, while others enjoy in-depth carousel posts.
- Algorithm Benefits: Platforms like Instagram and Facebook prioritize diverse content types, which can boost your visibility.
- Creativity: Experimenting with formats keeps your content fresh and allows you to showcase your creativity.
Why It Works:
A food blogger might:
- Post a high-quality photo of a recipe (post).
- Share a time-lapse video of the cooking process (reel).
- Create a Instagram carousel post with step-by-step instructions.
- Use stories to share ingredient shopping tips or answer FAQs.
3. Batch Creation
Batch creation involves producing multiple pieces of content in one sitting and scheduling them for future use. This approach saves time, reduces stress, and ensures consistency.
Why It Works:
- Efficiency: Focusing on one task at a time (e.g., writing captions, editing photos) increases productivity.
- Consistency: Having a backlog of content ensures you never miss a post, even during busy periods.
- Quality: Batching allows you to dedicate focused time to creating high-quality content.
Example:
A small business owner might:
- Spend one day writing captions and designing graphics for the month.
- Schedule posts for product launches, promotions, and testimonials.
- Use the same content to create stories and reels for additional visibility.
Step 3: Simplify Scheduling with the Right Tool
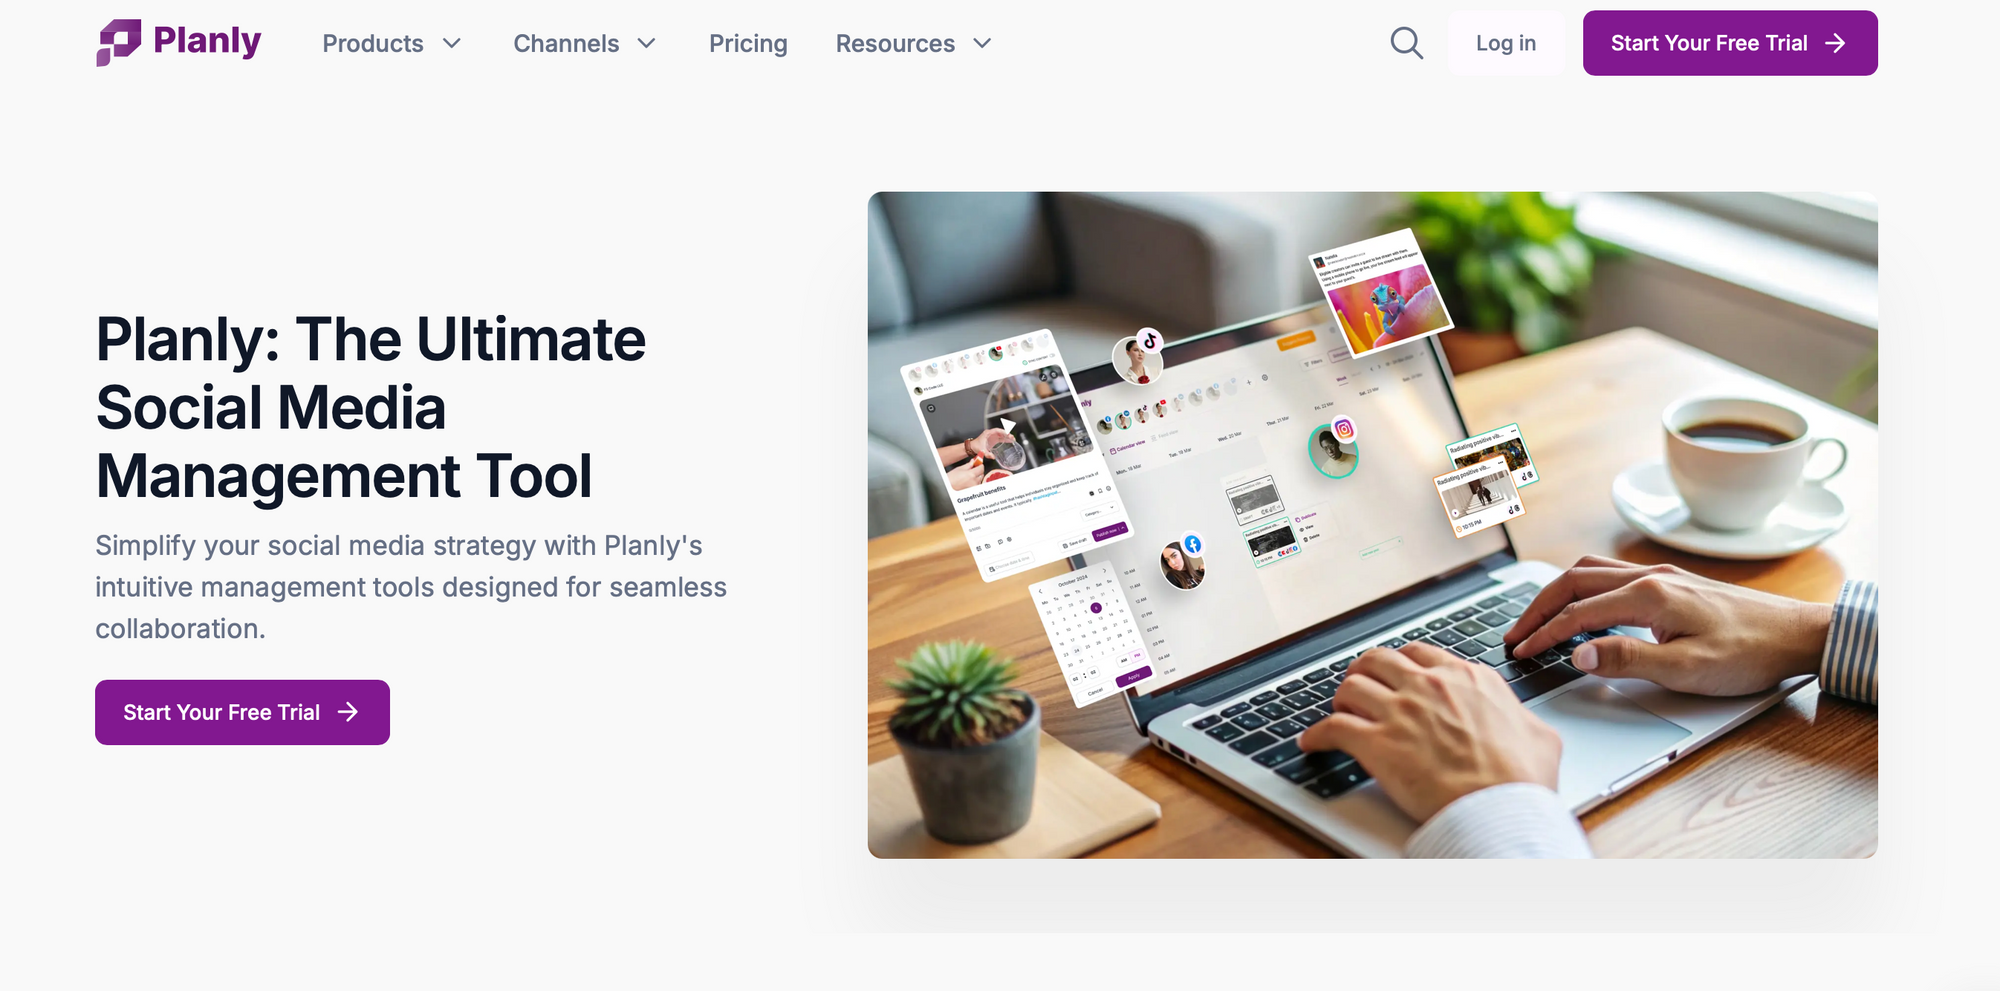
Scheduling social media content can be a time-consuming and overwhelming task, especially when managing multiple platforms, campaigns, and audiences. However, with the right tool, you can simplify the process, save time, and improve your results. Planly is a powerful social media scheduling tool designed to make your life easier.
How Planly Streamlines Social Media Scheduling
Planly simplifies the scheduling process by offering intuitive features that eliminate manual work and guesswork. Here’s how it works:
1. Centralized Content Calendar
Planly provides a unified calendar where you can view, organize, and manage all your social media posts in one place. This eliminates the need to switch between platforms or spreadsheets.
2. AI Assistant for Content Creation
Planly’s AI Assistant is a creative partner that helps you craft compelling captions and fresh ideas. Whether you’re short on time, the AI Assistant is here to make your social media content shine.
3. Engagement and Interaction
Planly provides a centralized inbox where you can view and respond to comments, direct messages (DMs), and mentions across your connected social media platforms. This eliminates the need to log in to each platform separately, saving you time and ensuring you never miss an important interaction.
4. Analytics Integration
Planly integrates analytics directly into the platform, allowing you to track the performance of your posts in real time. This helps you make data-driven decisions and refine your strategy.
Key Benefits of Using Planly
Here are the top reasons why Planly is a game-changer for social media scheduling:
- Save Time
Planly’s intuitive interface and automation features allow you to plan and schedule weeks or even months of content in minutes. No more manual posting or last-minute scrambling. - Improve Consistency
With a centralized calendar and scheduling tools, you can maintain a consistent posting schedule, which is crucial for audience engagement and growth. - Track Performance
Integrated analytics give you insights into what’s working and what’s not, so you can adjust your strategy and maximize your ROI.
Real-Life Example: How a Marketer Planned a Month of Posts in Minutes
Let’s look at how Sarah, a digital marketer, used Planly to streamline her social media scheduling:
Challenge: Sarah manages social media for three clients across Instagram, Facebook, and LinkedIn. She was spending hours each week manually scheduling posts and struggling to keep up with deadlines.
Solution: Sarah signed up for Planly and connected all her clients’ accounts. She used the calendar to plan a month’s worth of content in one sitting. Planly’s platform-specific optimization ensured her posts looked great on every platform.
Result: Sarah saved over 10 hours per week and improved her clients’ engagement rates by 20%. She now uses Planly’s analytics to refine her strategy and deliver even better results.
Step 4: Optimize Posts for Each Platform
Each social media platform has its own unique audience, content format, and best practices. To maximize engagement and reach, it’s essential to tailor your posts for each platform. Here’s how you can optimize your posts for different social media platforms.
1. Facebook
Facebook is ideal for longer-form content, community engagement, and visual storytelling. Here’s how to optimize your posts:
- Content Type: Share a mix of videos, images, and text-based posts.
- Post Length: Keep captions concise but informative (1-2 paragraphs).
- Visuals: Use high-quality images or videos with a 1.91:1 aspect ratio (1200 x 628 pixels).
- Engagement: Ask questions or use polls to encourage comments and interactions.
- Hashtags: Use 1-2 relevant hashtags to increase discoverability.
2. Instagram
Instagram is a visually-driven platform that thrives on creativity and aesthetics. Here’s how to optimize your posts:
- Content Type: Focus on high-quality photos, videos, Stories, Reels, and carousels.
- Post Length: Keep captions short and engaging (1-2 sentences) or use longer captions for storytelling.
- Visuals: Use square (1080 x 1080 pixels) or vertical (1080 x 1350 pixels) images and videos.
- Engagement: Use interactive features like polls, quizzes, and questions in Stories.
- Hashtags: Use 10-15 relevant hashtags to increase reach.
3. Twitter
Twitter is all about real-time updates, trending topics, and concise messaging. Here’s how to optimize your posts:
- Content Type: Share short text updates, images, videos, and GIFs.
- Post Length: Keep tweets under 280 characters for maximum impact.
- Visuals: Use images or videos with a 16:9 aspect ratio (1200 x 675 pixels).
- Engagement: Use trending hashtags and tag relevant accounts to increase visibility.
- Hashtags: Use 1-2 hashtags per tweet to avoid clutter.
4. LinkedIn
LinkedIn is a professional network where thought leadership and industry insights perform well. Here’s how to optimize your posts:
- Content Type: Share articles, industry news, professional achievements, and thought leadership posts.
- Post Length: Write longer captions (3-5 paragraphs) to provide value and context.
- Visuals: Use professional images, infographics, or videos with a 1.91:1 aspect ratio (1200 x 628 pixels).
- Engagement: Encourage discussions by asking for opinions or sharing insights.
- Hashtags: Use 3-5 relevant hashtags to increase visibility.
Step 5: Schedule Your Posts
Using Planly for Scheduling
1. Setting Up Your Account:
Before you can start scheduling, you need to ensure your Planly account is properly set up:
- Sign Up/Login: Start by signing up or logging into your Planly account.
- Connect Your Social Media Accounts: Click to the 'Add Channel' button and choose your desired platforms. Make sure all the permissions are granted to allow Planly to post on your behalf.
2. Scheduling Your First Post:
Now that your account is set up, let's walk through the process of scheduling a post:
Create Your Post
- Navigate to the “New” button within Planly’s dashboard. Click to it and select 'Post schedule' in order to schedule your post.
- Select the social media platform where you want the post to go live (e.g., Facebook, Instagram, Twitter, LinkedIn).
- Upload your image or video. Write your caption, ensuring it’s optimized for the platform. You can also add hashtags and tags.
Set the Date and Time
- Once your content is ready, choose the date and time when you want the post to be published. Planly allows you to select specific hours and minutes.
- Planly automatically adjusts for different time zones, ensuring your posts go live at the right time, regardless of where you are.
Review and Confirm
- After setting the time, review your post to ensure everything is in place—caption, visuals, hashtags, and scheduled time.
- Hit “Schedule” to confirm.
Step 6: Monitor and Adjust Your Schedule
Analyze Engagement Metrics and Adapt Your Strategy with Planly
Creating and scheduling content is only half the battle. To truly succeed on social media, you need to monitor how your posts perform and adjust your strategy based on the data. Planly’s built-in analytics makes this process easy, providing you with actionable insights to refine your approach and maximize your results.
Planly’s analytics dashboard gives you a comprehensive overview of your social media performance. Here’s how to use it to track key metrics:
Engagement Rate: Measures likes, comments, shares, and saves. It indicates how well your content resonates with your audience.
Reach and Impressions: It helps you understand how far your content is spreading.
- Reach: The number of unique users who saw your post.
- Impressions: The total number of times your post was displayed.
Follower Growth: It monitors how your follower count changes over time. It helps you identify which content attracts new followers.
Best Performing Posts: It highlights your top-performing content based on engagement, reach, or clicks. You can use this to identify trends and replicate success.
Audience Demographics: It provides insights into your audience’s age, gender, location, and interests. This helps you tailor your content to your target audience.
Common Mistakes to Avoid When Scheduling Posts
While scheduling posts can save you time and increase efficiency, it's important to be mindful of certain common mistakes that can negatively impact your social media strategy. Here's what to avoid:
Over-Scheduling: Posting too frequently can overwhelm your audience, leading to disengagement or even unfollows. While consistency is key, flooding your followers' feeds with too many posts can backfire. It’s important to strike the right balance by scheduling posts thoughtfully, ensuring that your content remains fresh and not repetitive.
Tip: Plan a content calendar that spreads your posts evenly across the week or month. Use insights and analytics from each platform to identify the optimal posting frequency.
Under-Scheduling: Posting too infrequently can make your brand seem inactive or disconnected from your audience. Without a consistent presence, your followers may lose interest over time.
Tip: Aim for consistency in posting. For most brands, posting 3-5 times per week across your platforms is ideal. Plan a content mix that keeps your feed fresh and engaging.
Conclusion
Scheduling your social media posts brings a range of benefits to your strategy. By scheduling posts ahead of time, you free up more time for other important areas of your business, like strategy, customer engagement, and content creation. Regularly scheduled posts help ensure that your brand stays visible to your followers, keeping your content active even during busy times or when you're away. With consistent and timely posts, you can increase engagement and strengthen relationships with your audience. Scheduling also allows you to plan content in advance, making it easier to align with key dates, events, or campaigns.