
How about having a link to all your social media accounts and an album of your favorite musician on one site? Planly has brought you this very feature. Welcome, to Planly's new feature Addto.bio
First, let's take a look at what to use Addto.bio for. You can place Addto.bio in the bio part of your profile on your social media accounts. For example, it is possible to schedule posts on social media platforms such as Instagram, Twitter, Linkedin, and Facebook. At the same time, Addto.bio is a new webpage that you will create. Also, without writing any code!
What are the advantages of Addto.bio?
Let's take a closer look at the advantages of Addto.bio
Centralized Online Presence 🎯
Addto.bio allows users to consolidate various social media channels and digital platforms into one unified link, making it easier for audiences to find and engage with all their content.
Customization 🎨
Users can potentially customize their Addto.bio page to reflect their personal or brand aesthetic, ensuring consistent branding across platforms.
Easy to Update 🔄
Without the need to know to code, users can quickly add, remove, or modify links, ensuring their audience always has access to the most recent and relevant content.
Analytics 📈
You can view various data by integrating Addto.bio with Google Analytics.
Bio-Link Optimization 📱
Given the one-link restriction in platforms like Instagram's bio, Addto.bio allows users to maximize that space, providing multiple avenues for engagement from just one link.
Seamless Integration 🔗
Integrate with various social media platforms, e-commerce sites, blogs, etc., creating a hub for all online activities.
Increased Engagement 💬
By offering a variety of links in one spot, you can drive traffic to more platforms and increase overall audience engagement.
Save Time and Effort ⏳
Instead of constantly updating bio links on different platforms, users can update their Addto.bio page, saving both time and effort.
Drive Business Goals 🚀
Whether the objective is to get newsletter signups, sell products, or increase followers on a particular platform, having a central hub can direct traffic more effectively toward these goals.
Overview
Well, we share with you the basic information you need as a guide to make a mini web page that you can do without any coding skills. To make an Addto.bio page on this blog, you need to do the following.
- Set up and customize Addto.bio page
- Customize your Addto.bio page the way you want
- Using special features
- Publish your page
Now we can start creating a new page!
How to setup Addto.bio page?
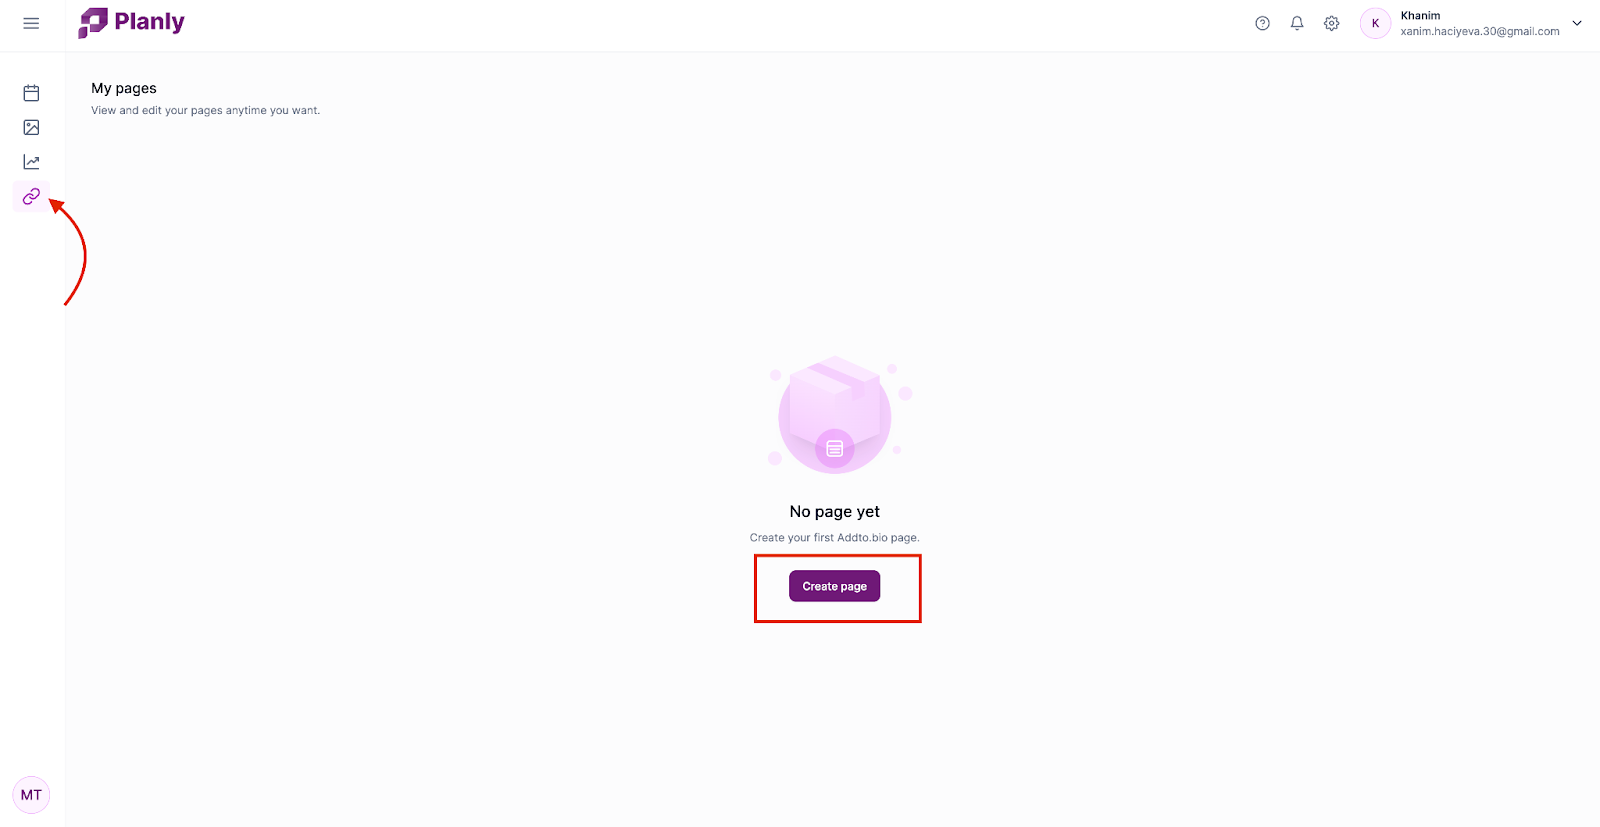
To create an Addto.bio page, you must first create a new page. To do this, log in to your Planly account and go to the Addto.bio section. And so we click on Create Page button.
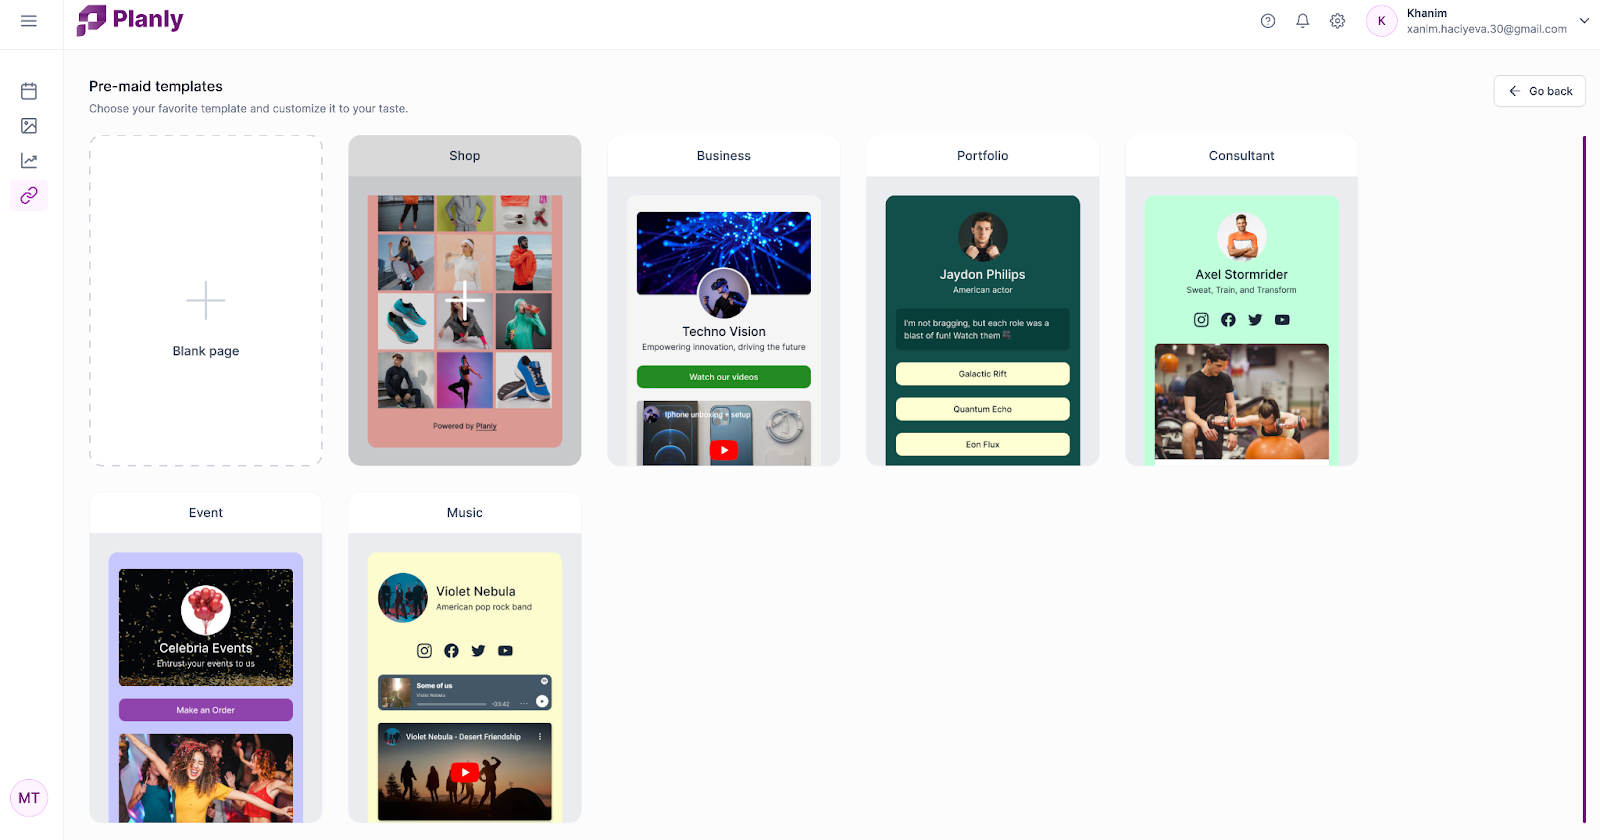
In the part that will appear in front of you, use the templates that you already have. you can create a new page or customize a new page from scratch.
You can see Shop, Event, Businesses, Consultant, Portfolio, and Music from the currently available templates.
All mentioned templates are adapted to those mentioned topics.
Let's start with a ready-made template first👀
How to create an Addto.bio page with a ready-made template?
What you need to do to set up the page:
- Select a template
- If you want your page to be on which domain, write its name
- If your domain name is valid, “This URL is available” will appear.
- If the URL is suitable, you can click the “Save domain” button and customize the new page

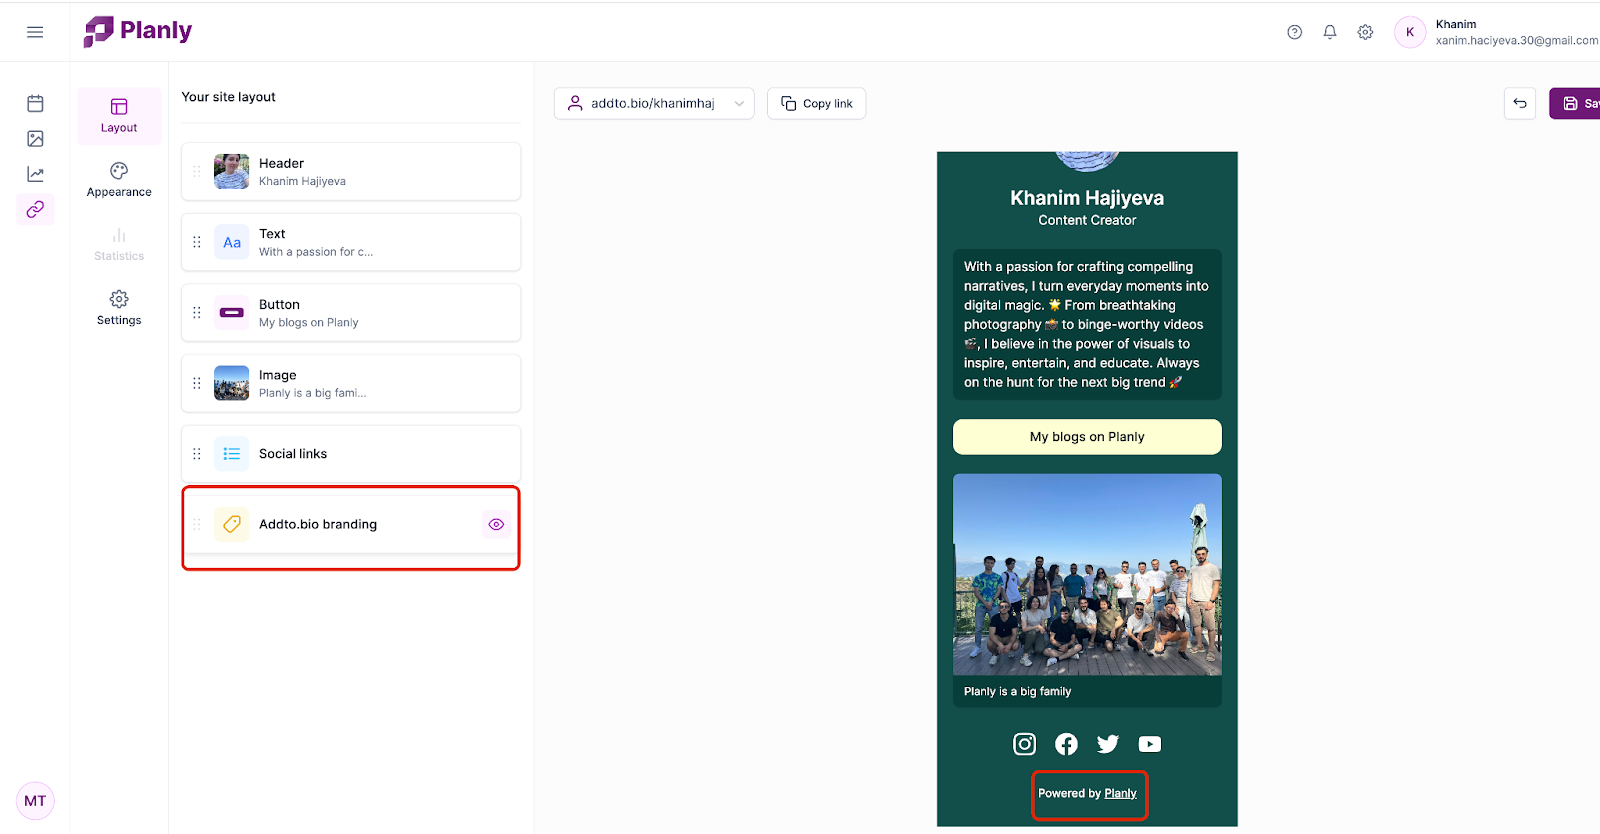
Layout
In this section, you can change the first visible part of the page, i.e., image, name, and background.
- Header: You can change the format of the Header section if you want the main top part of the page to look like. You can also add alt text, page name, and enter your bio in this part. One thing you should pay attention to is character counts. As you enter your characters, it shows at the bottom.
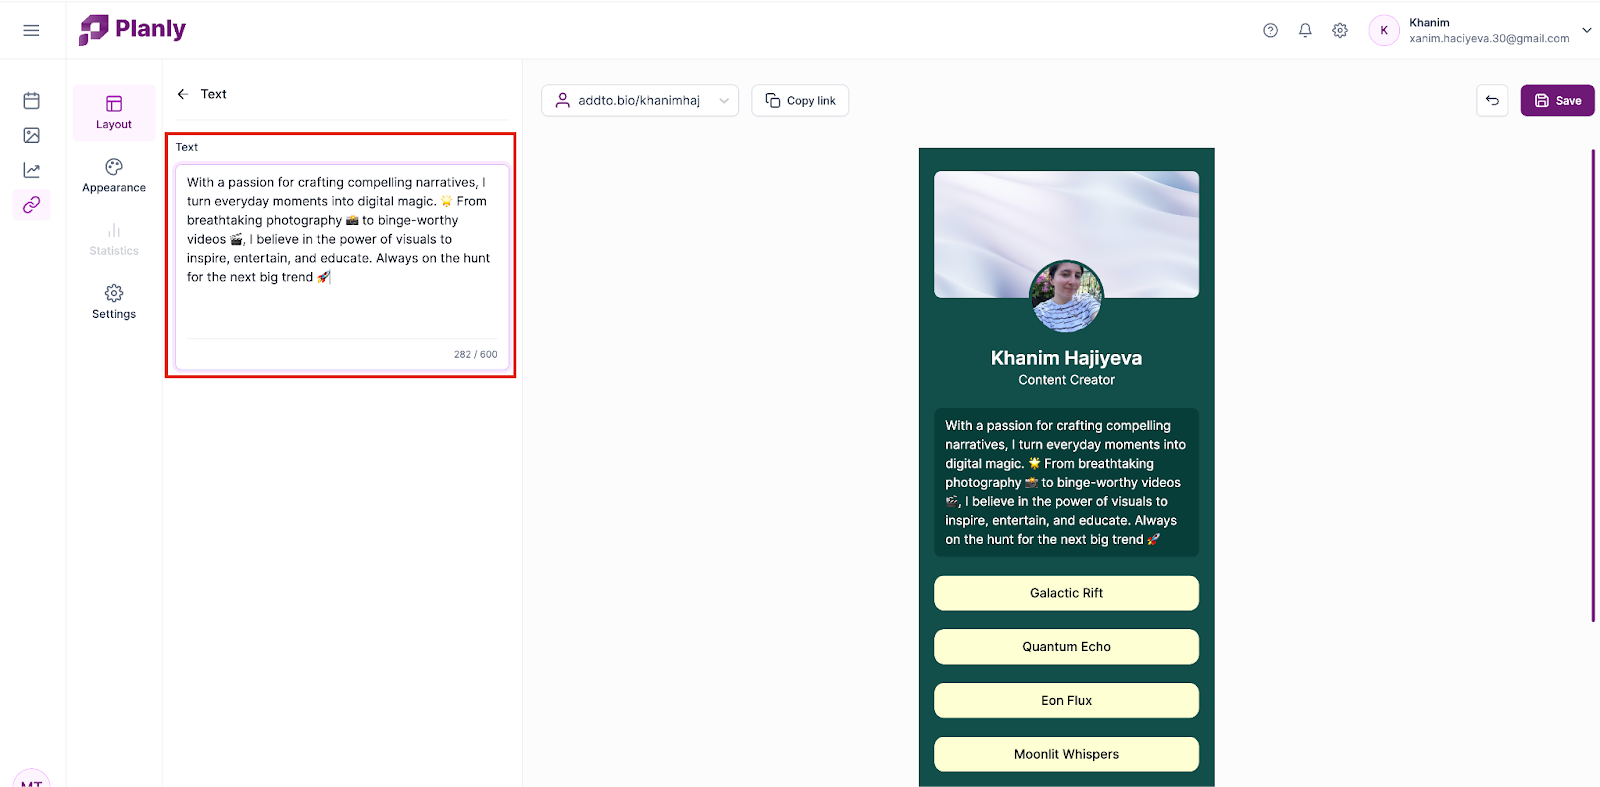
- Text: In the Text section, you can write a text about how you want people to know you. Also, various quotes, aphorisms, and or motivational words even refer to it.
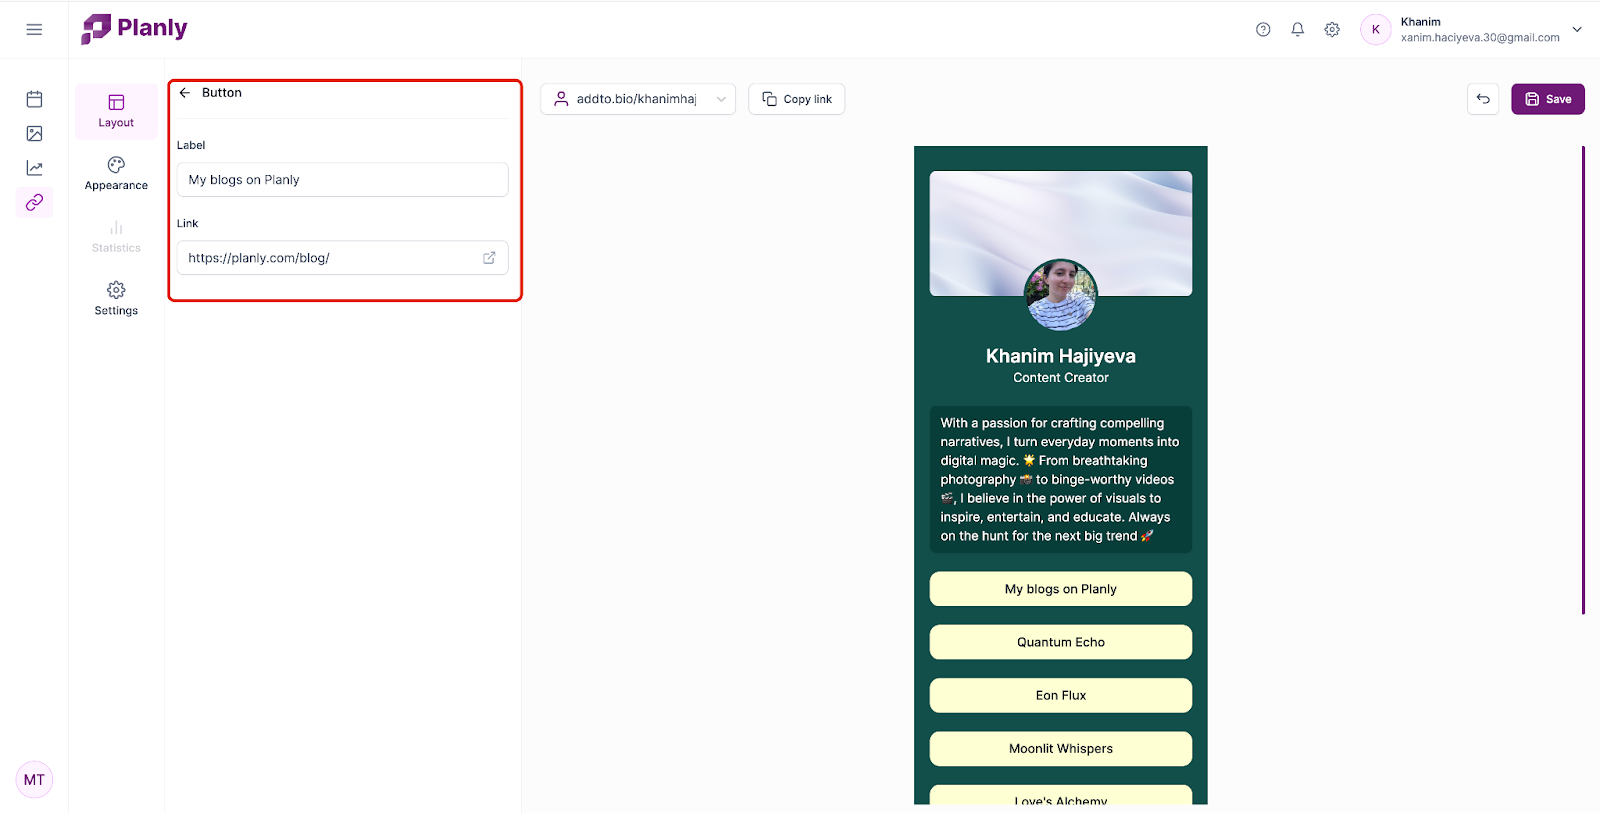
- Button: You use different. You can click on the button section of your sites, your portfolios, or any site you want to display, and place the name of the link and the link itself.
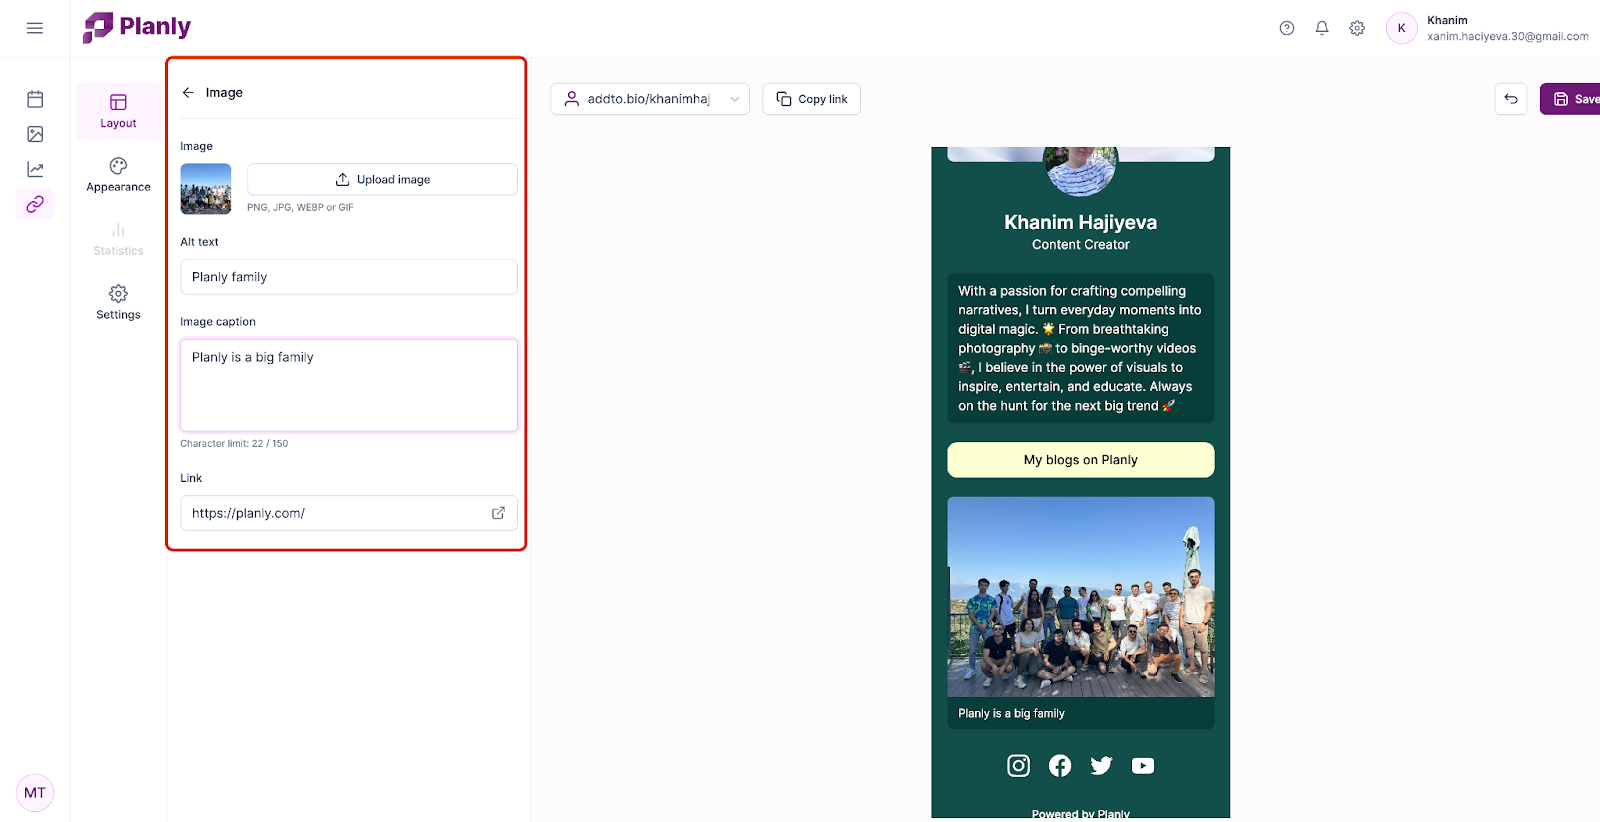
- Image: If you want to add your work, team or any other type of image to your portfolio, you can use the Image section.
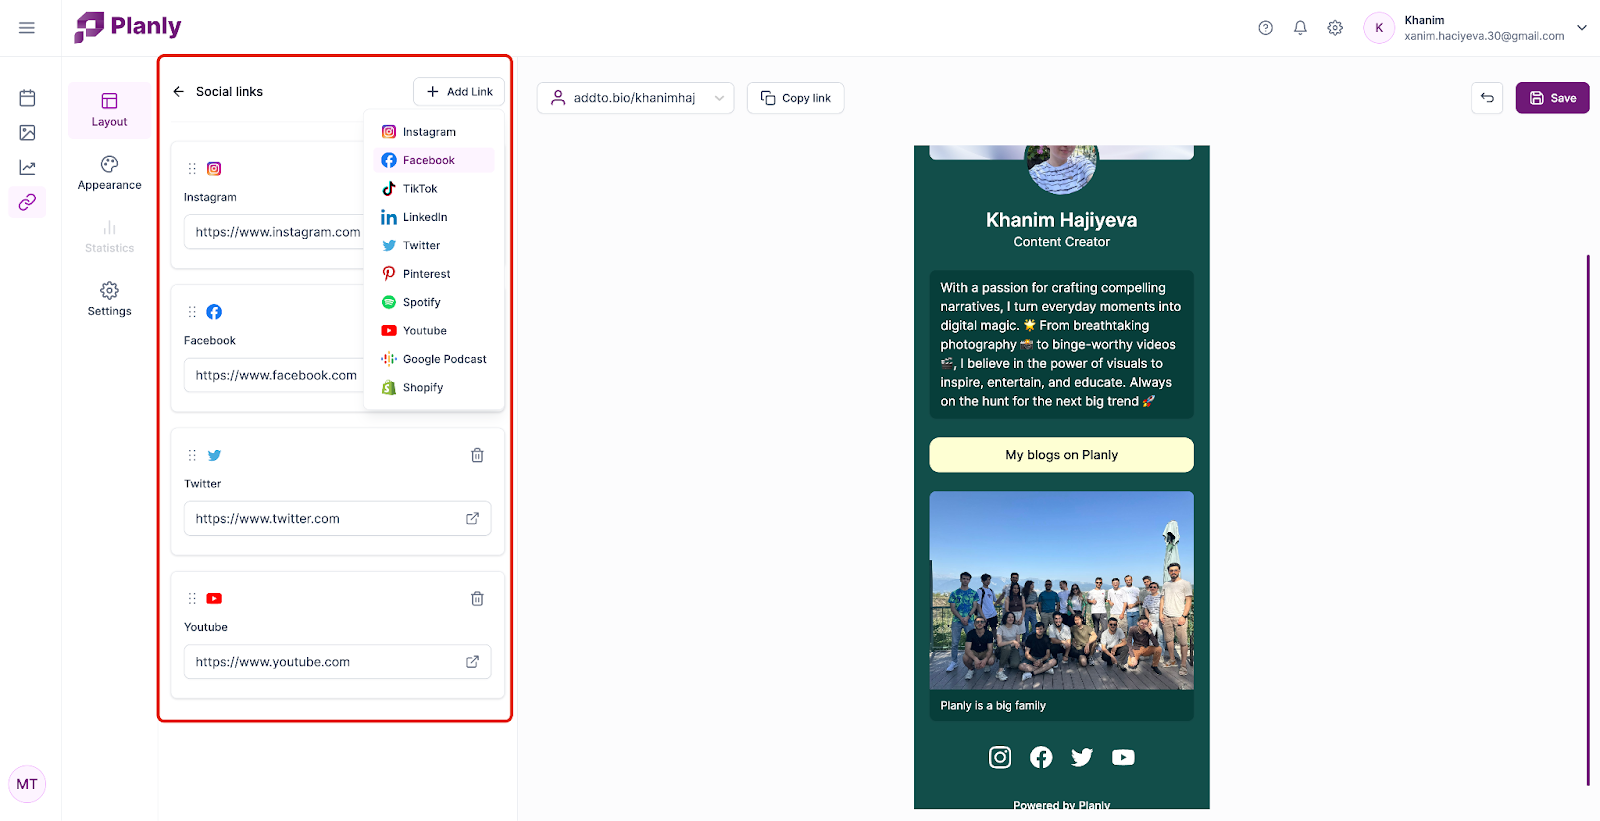
- Social Links: We have come to one of the most interesting sections. You can link to many of your social media accounts here. If the template does not have the social media you want, you can add it.
- Addto.bio branding: You can hide or show that your page is generated by Planly. We think you should share how this feature works with your friends🫰
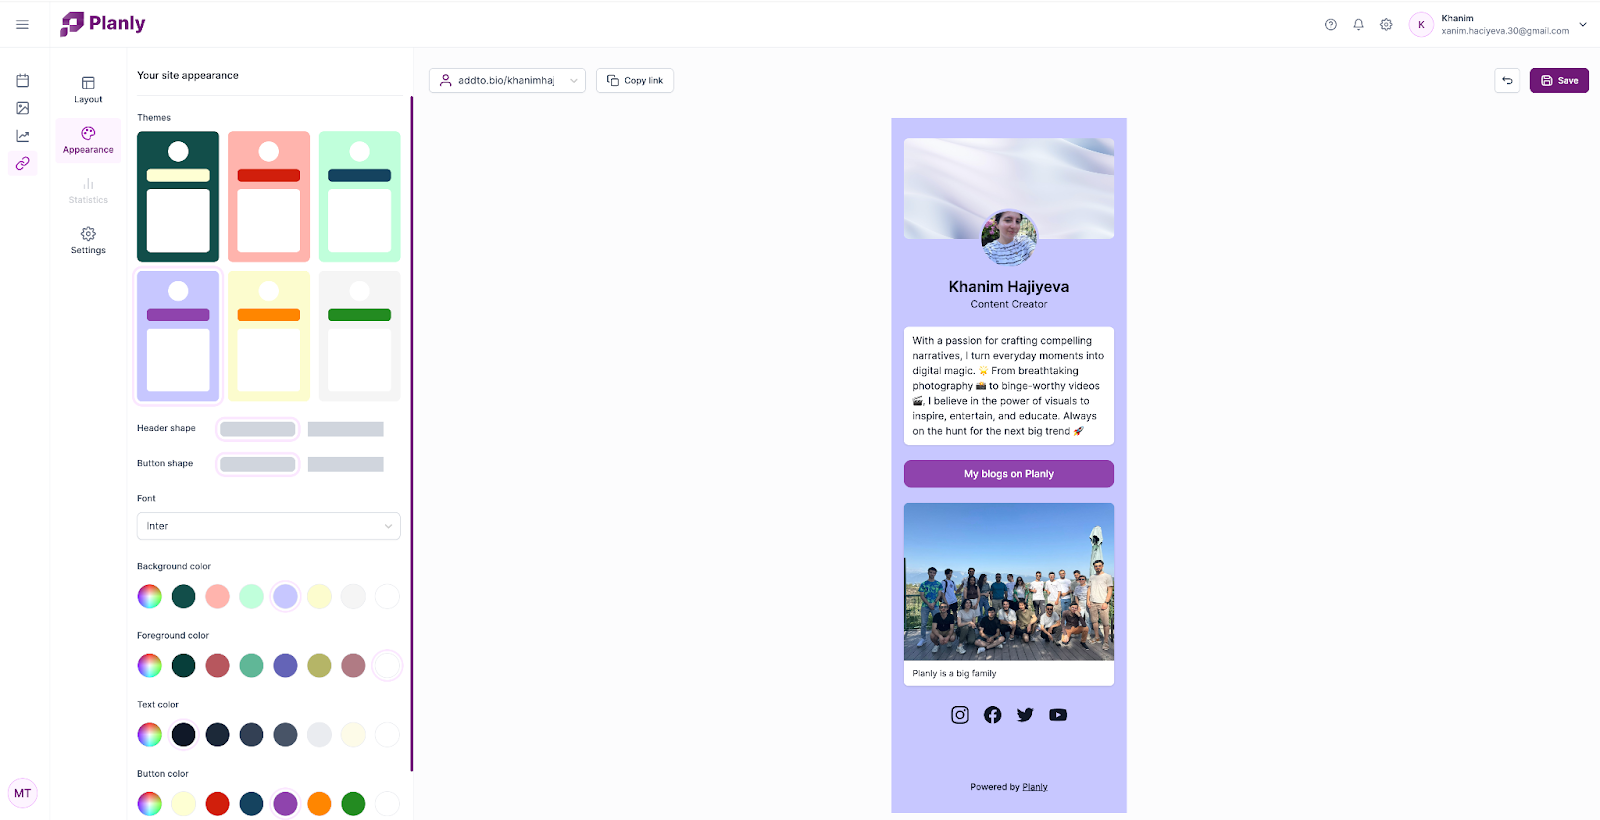
Appearance
This is where your creative spirit comes into play. You can set everything from the color of the background to the shape of the pages. At the same time, you can go beyond the template and design your page in the tones and colors you want.
Settings
In this section, you will see the technical work of your page in general.
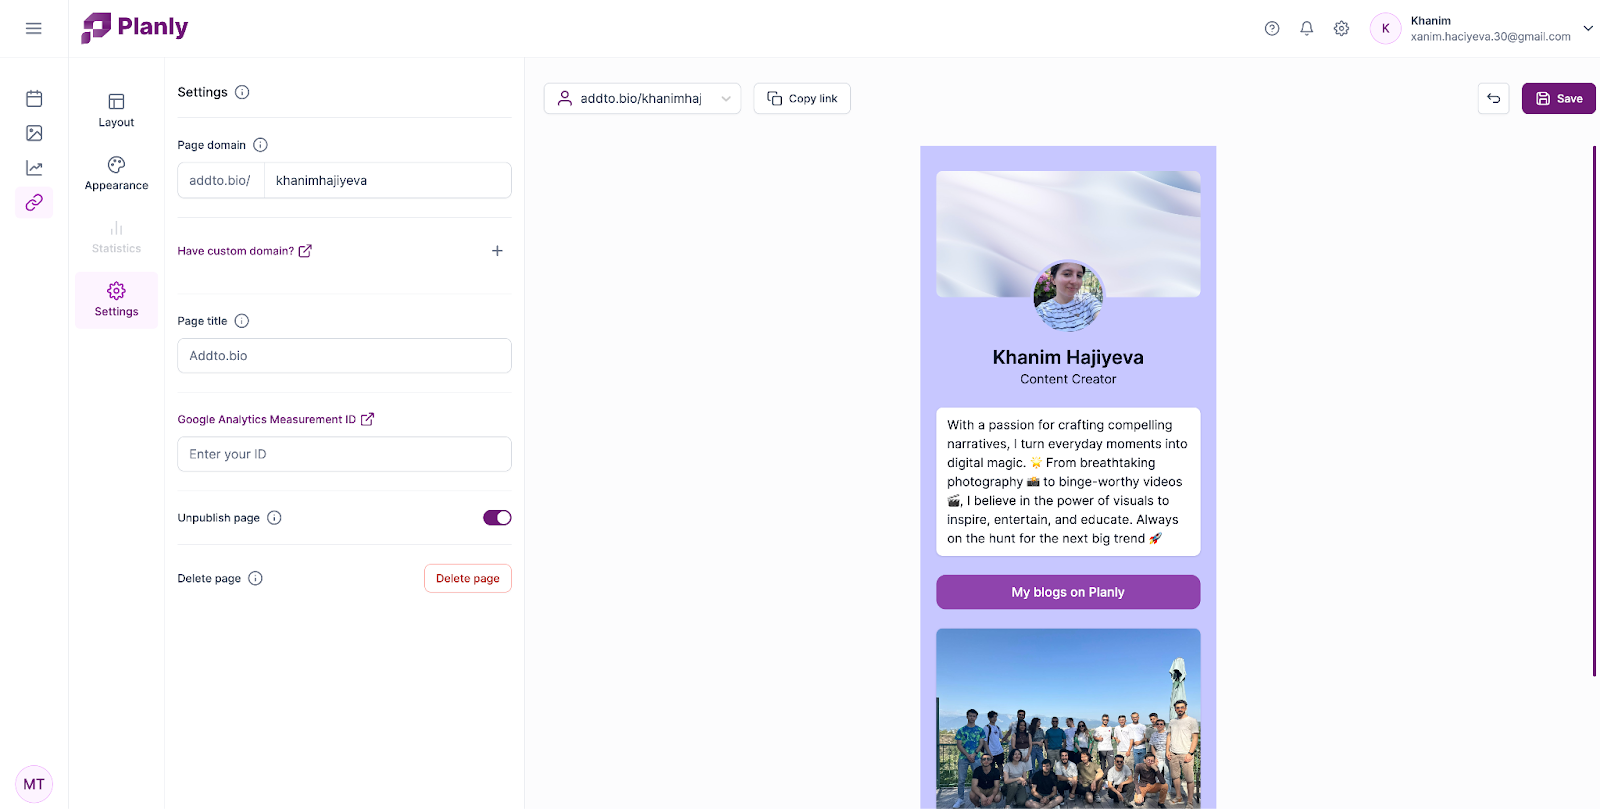
- Page domain: You can change your domain name from this section. The domain you will write must be between 2-63 characters.
- Have custom domain?: Addto.bio now offers a feature for users to connect custom domains to their pages, elevating personal branding. A custom domain provides a unique, professional web address reflecting your brand or identity. Instead of the default URL, users can now have a personalized link, like "john.com."
Setting it up is simple:
- Go to Addto.bio's Settings.
- Click the + icon near Custom Domain.
- Enter your domain and save.
- Page title: You can enter the name you want your page to appear under in the browser window.
- Google Analytics Measurement ID:
By linking Google Analytics to your Addto.bio page, you gain insights on traffic sources, mediums, and page visitor statistics right from the Google Analytics dashboard.
Steps for Integration:
- Set up your Addto.bio domain.
- In Google Analytics, create a property for your Addto.bio page.
- Fill in business details, industry type, and business objectives.
- For data collection sources, select 'Web'.
- Enter your Addto.bio username (without 'http' or 'https') for stream name.
- Retrieve your Measurement ID from the Stream details.
- Input this Measurement ID into your Addto.bio settings and save.
Once integrated, tracking Addto.bio interactions becomes a breeze in Google Analytics.
Finding Your Google Analytics Measurement ID:
- Access your Google Analytics property and select the Admin icon.
- Pick the desired Property and navigate to Data Streams.
- Choose 'Web' and select the appropriate Data Stream name.
- Your Measurement ID is available on the top right for copying.
- Unpublish page: You can decide whether your page should be published publicly.
- Delete page: You can delete the page by clicking the “Delete page” button.
Publish your Addto.bio page!
We created a new website page without writing code! You can copy the link of your page and share it on your social media channels or publish it immediately and see it as a webpage.
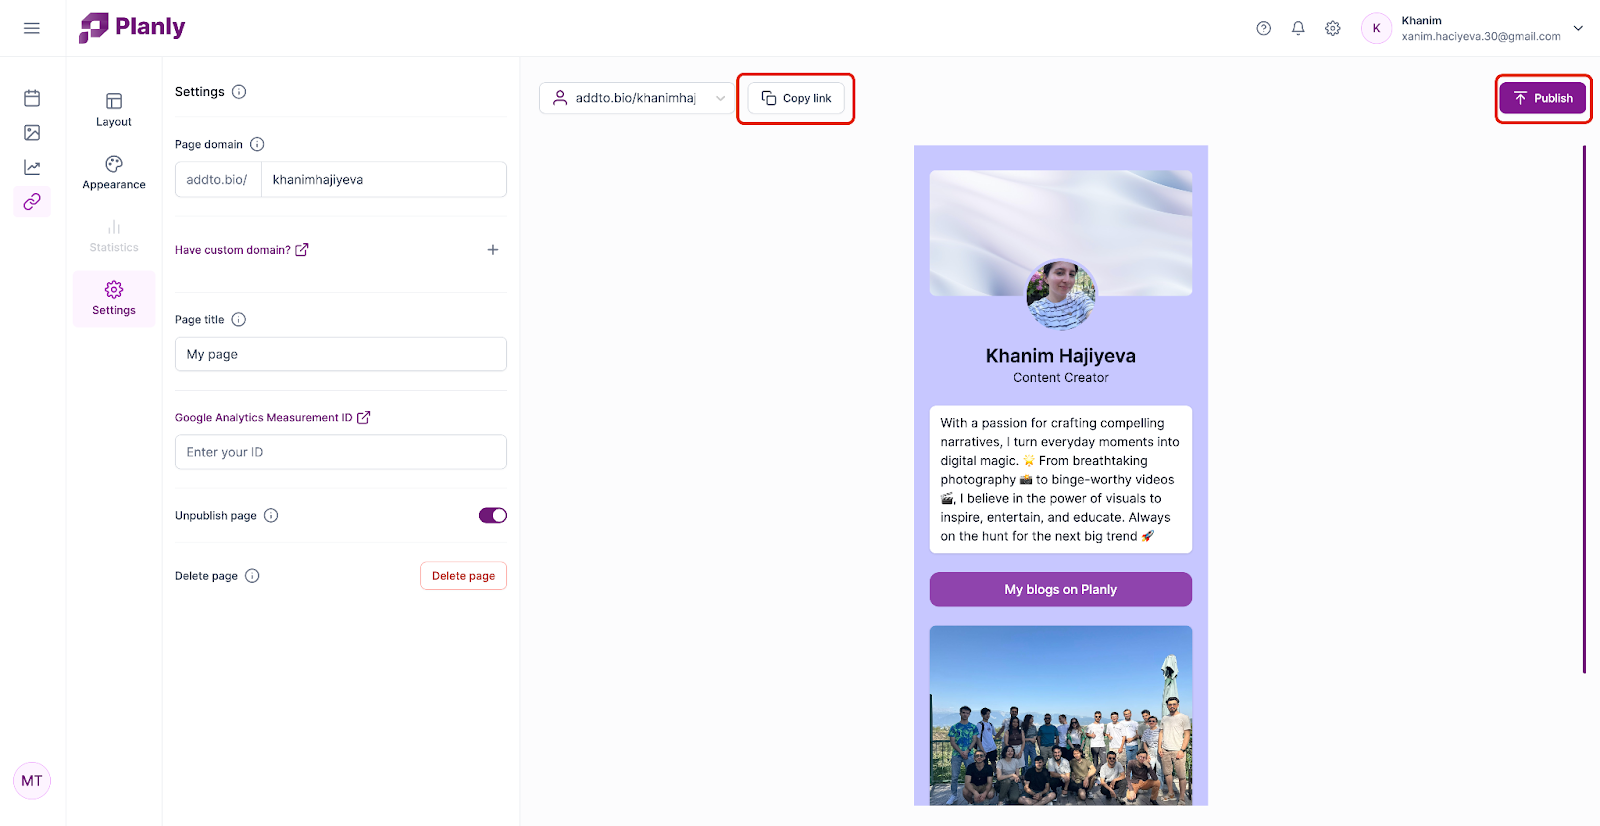
Time to the magic🪄
Navigating the digital world becomes easier with Addto.bio. It centralizes links, ensuring your audience can access everything in one place. For creators and brands, it's a game-changer: enhancing engagement, maintaining a consistent brand look, and streamlining communication.
In today's fast-paced online scene, having an all-in-one link solution Addto.bio is essential. If you aim to optimize your online presence, it's worth a look!🎉
Club heritage and international football give every shirt its own connection to a place, era, and group of supporters. Selecting a Real Madrid football shirt can be a natural way to represent an enduring love of the game.